Back to Wall Toilets: Where the Cistern Goes, What to Buy
Toilets
A back to wall toilet is a pan that sits flat against the wall or a furniture unit, with the cistern hidden out of sight behind it rather than bolted on the back like a normal close-coupled loo. The cistern lives in one of three places: a ready-made WC unit, a boxed-in framework, or a stud wall. That is the whole trick, and it is also the bit the product photos never explain, which is why people end up unsure what they actually need to buy.
Here is where the cistern goes, how the widths work from 500mm up to 900mm, the dimensions that matter, how you service a hidden cistern without wrecking the tiling, and the pan, unit and cistern to buy to build the lot.
- What a back to wall toilet actually is
- Where the cistern goes: WC unit, stud wall or boxing-in
- Back to wall WC unit widths: 500mm to 900mm
- Back to wall toilet dimensions: the numbers that matter
- Servicing a hidden cistern without ripping the tiles off
- What to buy: the pan, the unit and the cistern
- FAQ
What a back to wall toilet actually is
A back to wall toilet, sometimes sold as a built-in toilet or a boxed-in toilet, is just a pan with a flat back and no visible cistern. The pan pushes right up against the wall or a unit, so there is no gap behind it and no exposed pipework on show. Everything that would normally sit on the back of a close-coupled toilet, the cistern and the fittings inside it, gets tucked away behind the pan instead.
That gives you two things. It looks tidier, because you see a clean pan and a flush plate on the wall or unit rather than a bulky cistern. And it kills the awkward gap behind a standard loo where dust and muck gather, which is a genuine pain to clean. The catch is that a back to wall pan does not come as one finished object. You are buying a system: the pan, a concealed cistern, and something to hide that cistern in. Get any one of those three wrong and it does not fit together, which is exactly why the search results are full of people asking where the cistern goes.
Where the cistern goes: WC unit, stud wall or boxing-in
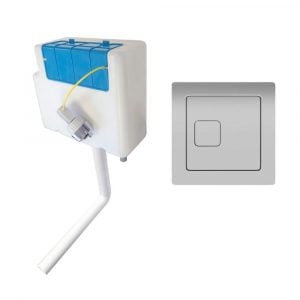
The cistern for a back to wall toilet is a concealed cistern, a slim tank designed to be hidden rather than looked at. A slimline one like the Bathroom Point Concealed Cistern with Bottom Inlet at £39.99 is only 155mm deep, so it hides in a surprisingly shallow space. You have three ways to give it that space, and they cost very different amounts.
A ready-made WC unit. This is the easy option and the one most people go for. A back to wall WC unit is a floor-standing furniture cabinet with a hollow back that the cistern drops into, and a top the pan tucks against. You buy the unit, sit the cistern inside, bolt the pan to the front, and you are done. No stud work, no plastering, no boxing to build. It costs more than a bag of timber and plasterboard but it saves you a day of joinery and it gives you a finished, matching front straight away. If you want the job done in a morning, this is how.
A stud wall. If you are building a false wall anyway, say to run pipework or to square off an odd corner, the cistern goes inside the stud framework and you tile or board over it, leaving only the flush plate showing. This looks the most seamless because there is no unit, just wall and pan. It is also the most work and the hardest to get back into later, so it suits a full bathroom rebuild rather than a quick swap.
Boxing-in. The middle option. You build a simple timber and plasterboard box around the cistern and pipework and tile or paint it. Cheaper than a bought unit on materials, but you are paying in your own time, and a home-built box rarely looks as neat as a furniture unit or a proper tiled stud wall. Fine for a utility or a cloakroom where looks matter less.
The cost logic is straightforward. Boxing-in is cheapest on parts and dearest on your labour. A stud wall is the most finished and the most disruptive. A WC unit sits in the middle on price and wins on speed and finish, which is why it is the default. Whichever you pick, the cistern itself is the cheap bit, so do not skimp on it: a WRAS approved cistern like the Bathroom Point one above meets the UK water supply rules and comes with a 2 year guarantee, for under forty quid.
Back to wall WC unit widths: 500mm to 900mm
WC units come in a run of standard widths, and the width you pick decides whether you get just a loo surround or a loo plus storage. The pan and cistern stay the same size across all of them; what changes is how much cabinet sits either side. Worth saying up front: every back to wall WC unit in stock here right now is 500mm, so treat the wider sizes below as what to look for rather than what is on the shelf today. Here is what each width buys you.
500mm back to wall WC unit
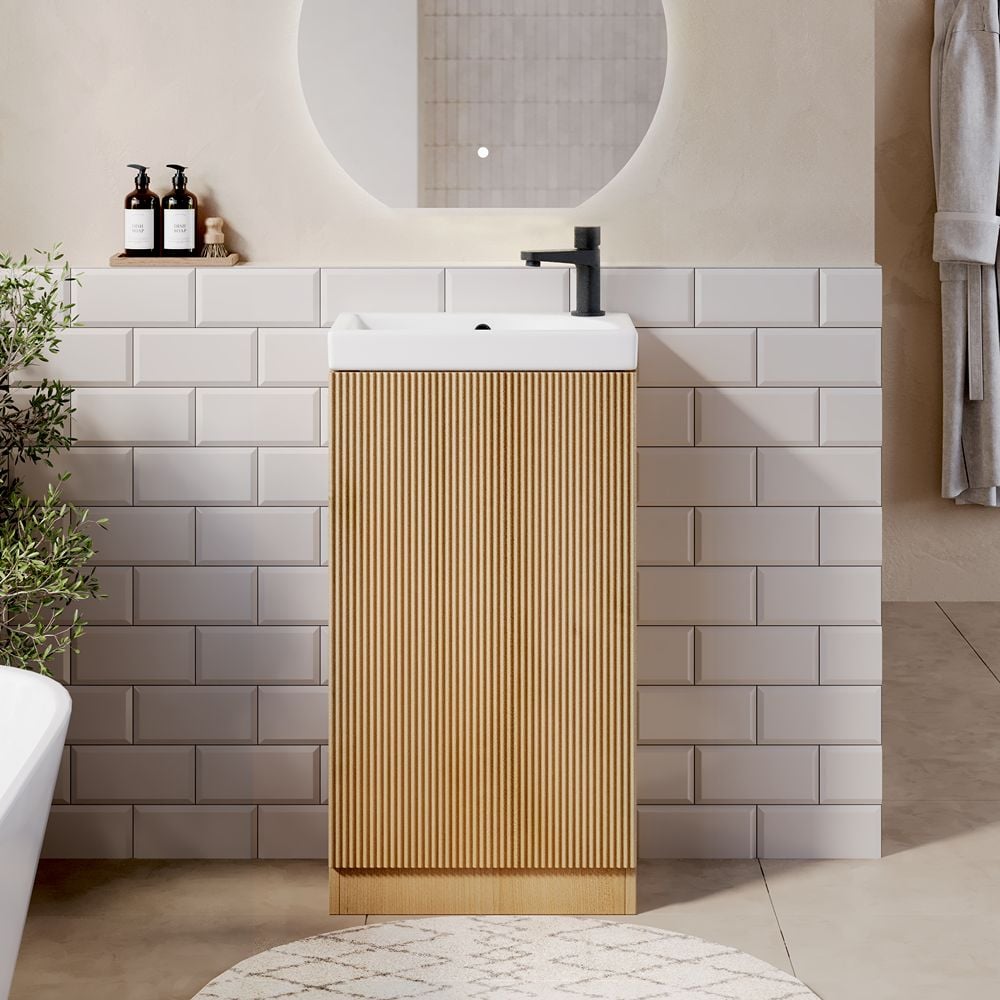
The smallest common size and the tightest fit for a cloakroom or a small bathroom. A 500mm unit is essentially a surround for the pan and cistern with a slim top, no extra storage, just a clean flat front. The Amy Gloss White 500mm WC Unit at £149 is the one to look at here: gloss white, furniture-quality doors that hide the cistern and pipework, and a lifetime guarantee. If floor space is tight, this is the width you want.
600mm to 700mm back to wall WC unit
Step up to 600mm or 700mm and you start getting a bit of usable top and, on some units, a small cupboard or door beside the WC. Handy for a spare toilet roll and a bottle of bleach without giving up much more floor. This is the sweet spot for a standard family bathroom where you want a little storage but not a wall of it.
800mm and 900mm back to wall WC unit
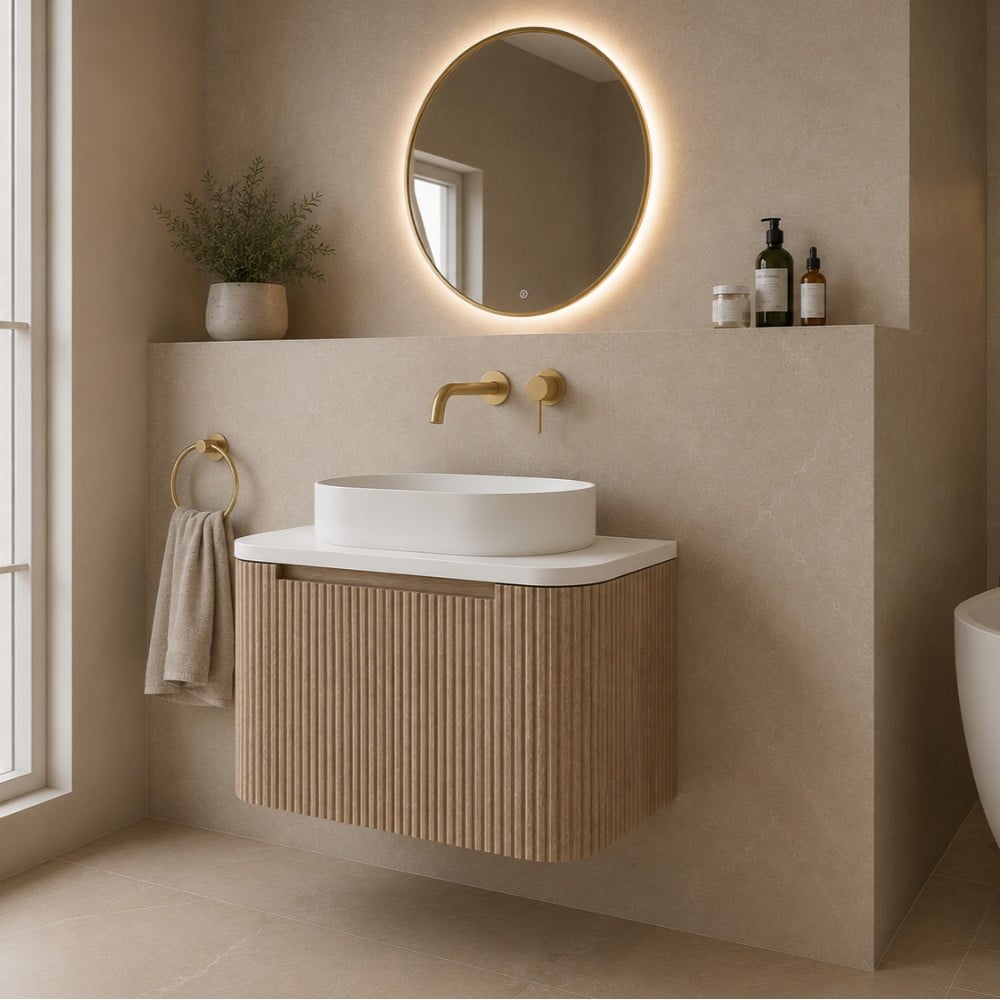
At 800mm and 900mm you are into back to wall toilet unit with storage territory. The extra width goes on a proper cupboard or drawer next to the pan, so the unit doubles as bathroom storage and hides your clutter as well as the cistern. A 900mm unit is the one people search for when they want the toilet and a decent cupboard in one tidy line along the wall. It needs the floor space to suit, so measure before you commit. Browse the full back to wall WC units range to see what is in stock.
Back to wall toilet dimensions: the numbers that matter
People search back to wall toilet dimensions expecting one number, but a back to wall setup is three parts, so there are three measurements to get right. Work from live product specs rather than rules of thumb, because they vary by model.
Cistern depth. This is the one that catches people out. The Bathroom Point concealed cistern is 155mm deep, which is how much space you need behind the pan to hide it. Whether that goes in a unit, a stud wall or a box, plan for the cistern depth plus a bit for the pipework and the fixings, and check the finished depth against the cistern spec before you build.
Unit width. This is the number in the product name. The Amy is a 500mm unit, meaning the cabinet is 500mm across the front, and wider units step up to 900mm. Match the width to your wall run, not just the pan.
Pan and worktop height. The pan bolts to the front of the unit or the finished wall and the top of a WC unit sits at worktop height, so it lines up with adjoining furniture and gives you a small shelf. The Porto pan below is a compact back to wall design that tucks flat to the front, with a soft-close seat so nothing slams. If you want a taller, easier-to-use pan, that is a comfort height question rather than a dimensions one, and our toilet guides below cover it.
Servicing a hidden cistern without ripping the tiles off
The worry everyone has about hiding a cistern is what happens when it goes wrong. If the fill valve sticks or the flush stops working, are you tiling the whole wall again? No. The access is designed in, through the flush plate.
The flush plate is the push-button panel you see on the wall or the top of the unit. It clips or unscrews off, and behind it is an opening straight into the cistern, so you can reach the fill valve and the flush valve, swap a washer, or adjust the water level without touching a single tile. This is the whole point of a concealed cistern being serviceable: everything that wears out lives behind that removable plate. So when you fit one, leave the plate accessible and do not tile or board over the access aperture, because that is your way back in.
It helps to buy a cistern built to last in the first place, since the less you have to get in there the better. The Bathroom Point concealed cistern is made from strong, durable high-density polyethylene rather than thin brittle plastic, runs a 3 and 6 litre dual flush so you are not wasting water, and is WRAS approved. Bottom inlet, so the supply feeds in from below, which suits most unit and stud-wall installs.
What to buy: the pan, the unit and the cistern
A back to wall toilet is three purchases, not one, so here is a clean set that fits together, all in stock. Treat it as the starting point and swap widths or finishes to suit your room.
- The pan: the Porto Rimless Back-To-Wall Toilet and Soft-Close Seat at £139. Gloss white, a rimless bowl that is far easier to keep clean, a quiet wrap-over soft-close seat with no slamming, and a pan fixing kit in the box. Backed by a lifetime guarantee.
- The unit: the Amy Gloss White 500mm WC Unit at £149. A 500mm cabinet that conceals the cistern and hides the pipework behind furniture-quality doors, in an easy-clean gloss white, with a lifetime guarantee. Go wider from the WC units range if you want storage with it.
- The cistern: the Bathroom Point Concealed Cistern with Bottom Inlet at £39.99. Slim at 155mm deep, WRAS approved, 3 and 6 litre dual flush, bottom inlet, high-density polyethylene build and a 2 year guarantee. The cheap, sensible bit that makes the whole thing work.
If you are boxing in or building a stud wall instead of buying a unit, you still need the pan and the cistern, so drop the unit and pick from the back to wall toilets and concealed cisterns and frames ranges. Still deciding between a back to wall loo and a standard close-coupled one? Our choose a toilet guide runs through the trade-offs, and all about toilets covers how pans, cisterns and traps fit together across every type.
FAQ
What is a boxed in toilet?
A boxed in toilet is a back to wall toilet where the concealed cistern and pipework are hidden inside a timber and plasterboard box built around them, rather than a bought WC unit or a full stud wall. You tile or paint the box and only the pan and flush plate show. It is the cheapest way on materials to hide the cistern, but it takes your own joinery time and rarely looks as neat as a furniture unit.
Can you get a back to wall toilet unit with storage?
Yes, though not from every range. Once you go past the compact 500mm width, the extra width in a WC unit goes on a cupboard or drawer beside the pan, so an 800mm or 900mm unit hides the cistern and gives you real bathroom storage in the same line. The back to wall WC units in stock here are all 500mm, so if you only need to hide the cistern and have no floor to spare, a 500mm unit like the Amy is the one to pick.
Do you need a special cistern for a back to wall toilet?
Yes, you need a concealed cistern rather than the exposed one that sits on a close-coupled loo. It is a slim tank made to be hidden inside a unit, box or stud wall, with the flush operated by a plate on the wall. The Bathroom Point concealed cistern is 155mm deep, WRAS approved and runs a 3 and 6 litre dual flush, and at £39.99 it is the cheap part of the job.
How do you fix a concealed cistern if it is hidden?
Through the flush plate. The push-button plate on the wall or unit comes off to reveal an opening into the cistern, so you can reach the fill and flush valves and service them without disturbing any tiles. That is why you leave the flush plate accessible and never board or tile over it: it is your access panel.
What is the difference between back to wall and wall hung?
A back to wall pan stands on the floor and pushes against the wall or unit, with the cistern hidden behind it. A wall hung pan is bolted to a frame in the wall and floats clear of the floor, which looks lighter and makes mopping easier but needs a stronger fixing frame. Both hide the cistern; the difference is whether the pan touches the floor. If you want a straightforward floor-standing swap, back to wall is the simpler job.
Sorting your back to wall setup
A back to wall toilet is one job in three parts: a flat-backed pan, a concealed cistern to hide behind it, and a unit, box or stud wall to hide it in. Sort the pan and cistern first, pick the unit width to match your wall and your storage needs, and leave the flush plate reachable for the day something needs a fettle. Start with the back to wall toilets range, add a unit from the WC units range, and if you are weighing it against other loos our choose a toilet guide has the rest.